How to configure Datalogger like Shinewifi-S, Shinewifi-X, Shinewifi-F
Attention, please! We just update Shinephone version and upgrade to Shinephone above 8.0.0 that has solved the issue which will fail configurating on IOS version above 16 etc. Please remember to download newest Shinephone version above 8.0.0 when you start configuring it.
Growatt Datalogger species:
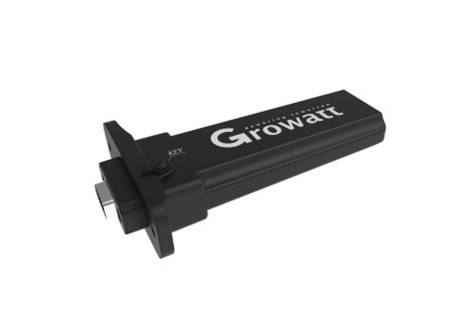
Mainly Shinewifi-X, Shinewifi-S, Shinewifi-F;
Shinewifi-X and Shinewifi-S are almost the same except the different interface. They are mainly used for grid and hygrid inverter. Shinewifi-F is mainly used for Off Grid Inverters
How to configure datalogger
Method 1: Mobilephone
sweep function, or go to the App Store and Google Play to search for ShinePhone or log in to our
monitoring website server.growatt.com or server-cn.growatt.com to download.
How to configure datalogger on Shinephone
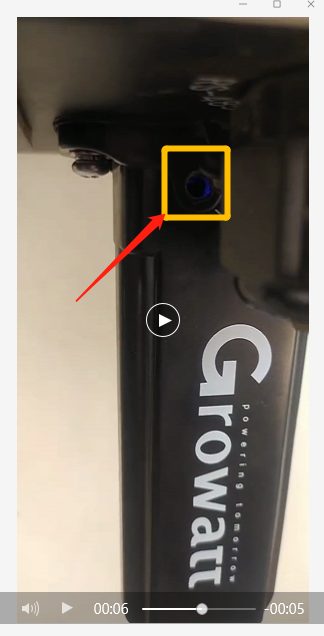
a. Plug the Shinewifi-S into the inverter
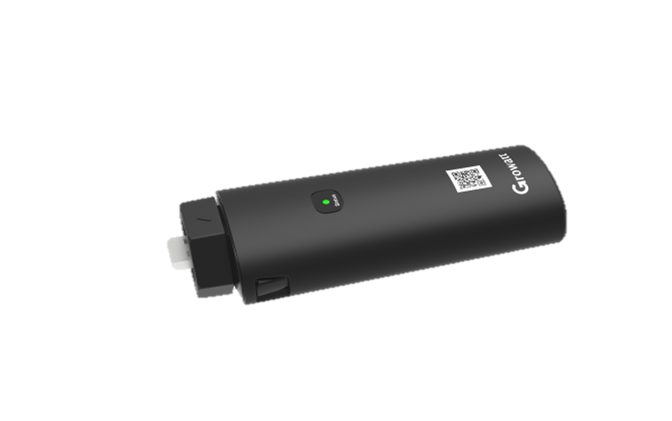
b. Observe the led light state of Shine-wifi-S. Blinking red means that it has connected to inverter. Blinking green means that it has connected to home router.
c. When you start configuring it, you have to make sure that it is blinking red at least. (If you find that it is blue on, please use one stick to press KEY port for 1 second.Then it will change into blinking red
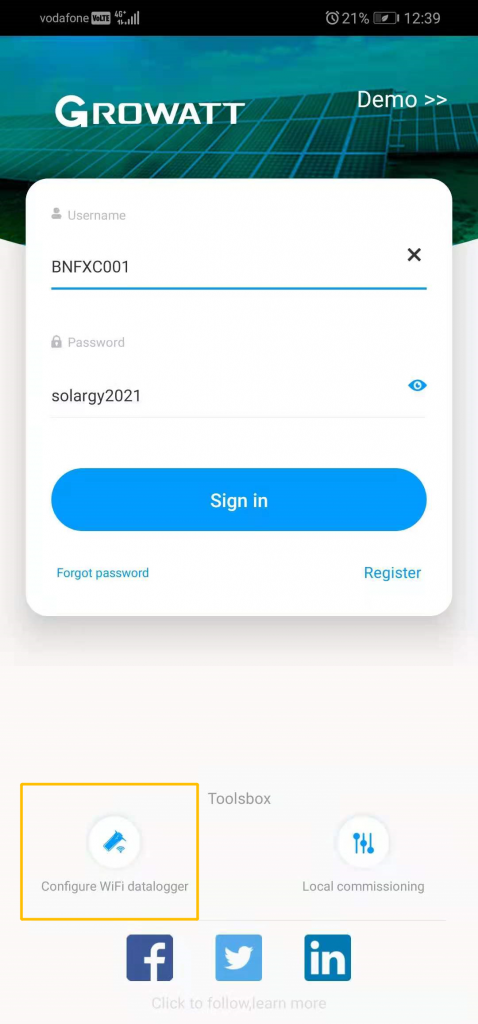
d. Select “Configure WiFi Datalogger”
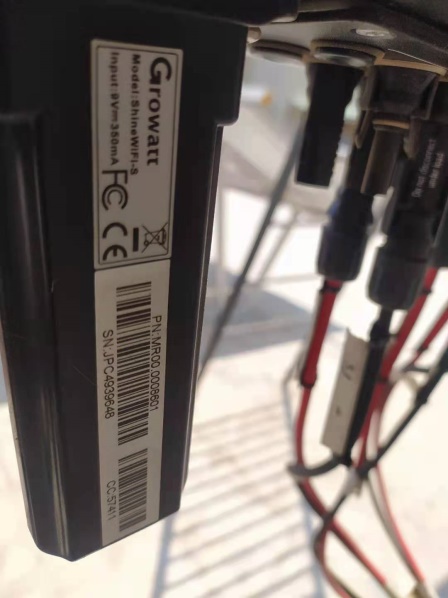
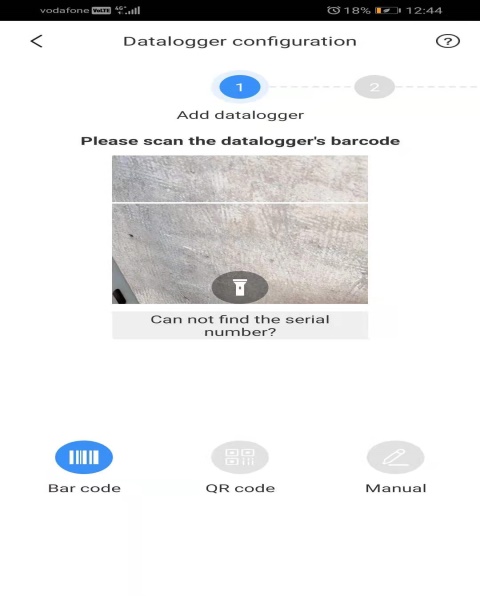
e. Scan QR code on Shinewifi-S
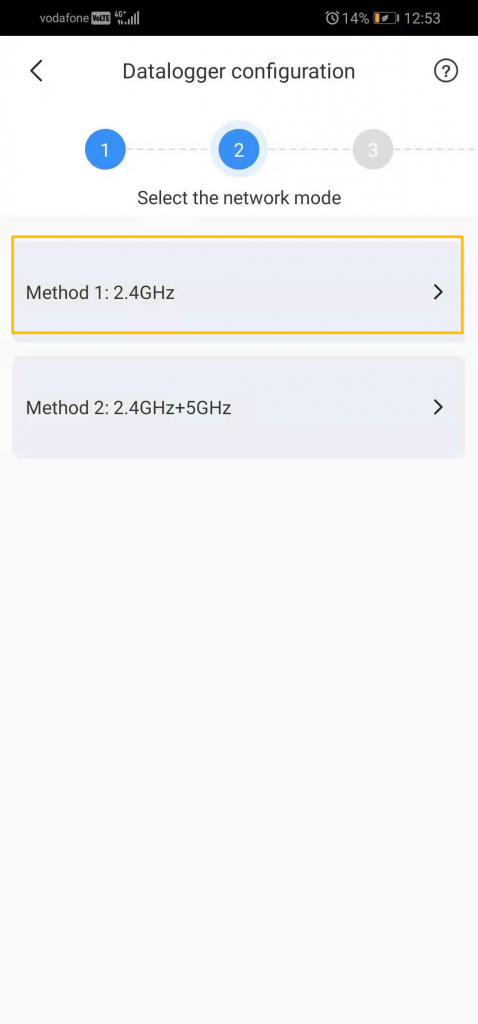
f. Choose network mode, In usual, choose the 2.4GHZ
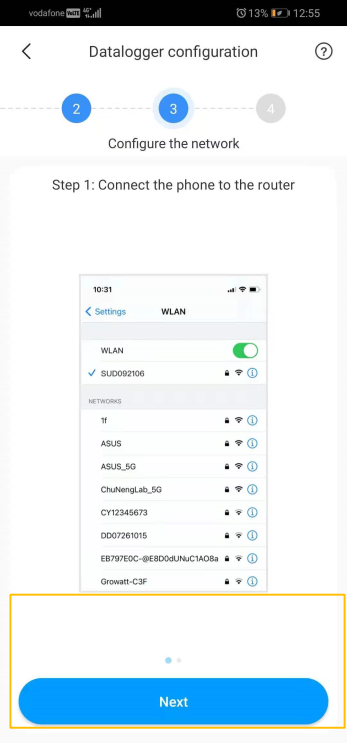
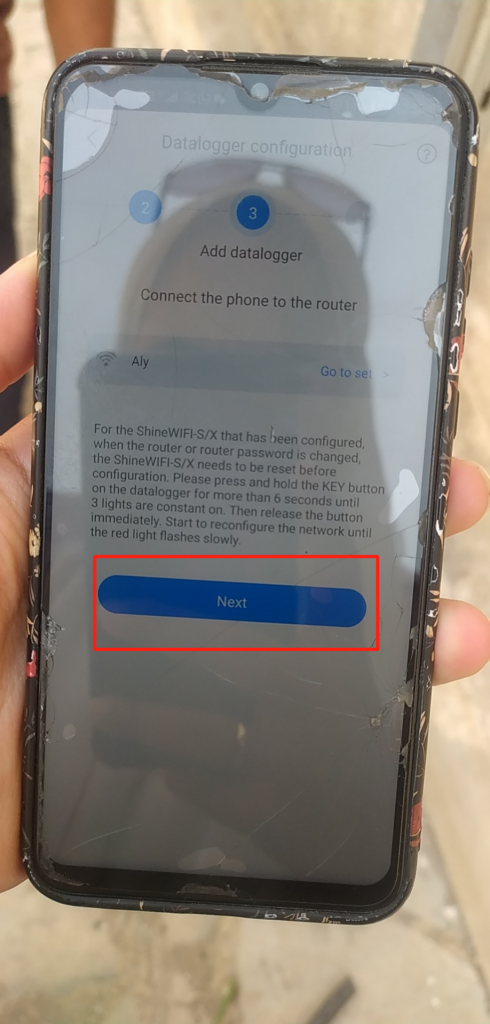
h. Clikc NEXT
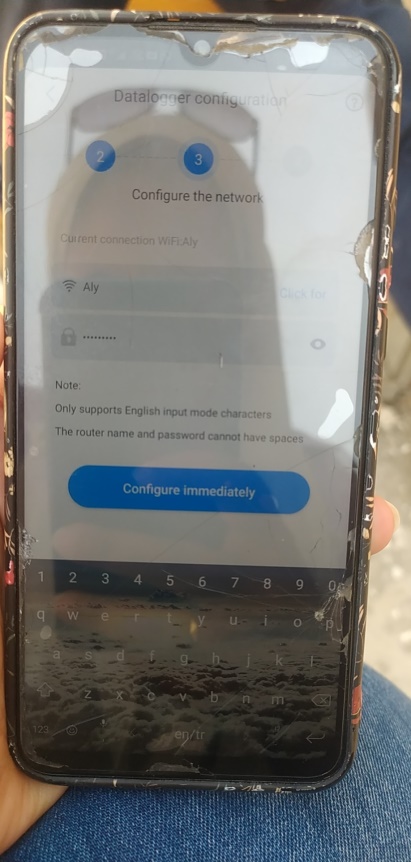
i. Click Configure immediately
j. Configure successfully
It just means that data has been uploded to server. But you need to continue registering monitoring account , then add datalogger into your monitoring account so that you can see data online.
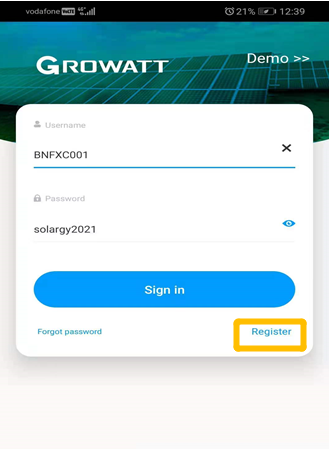
k. Register monitoring account
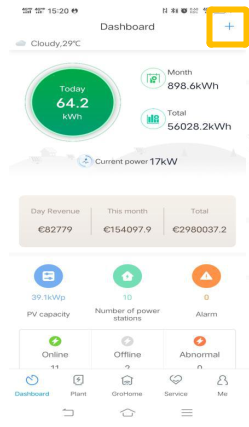
l. Add Datalogger into monitoring account
How to solve the failed configuration issue on mobilephone
Solution 1: Configure datalogger manually
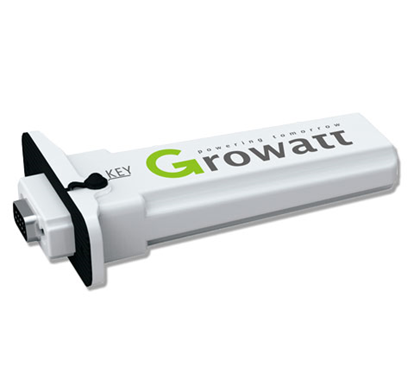
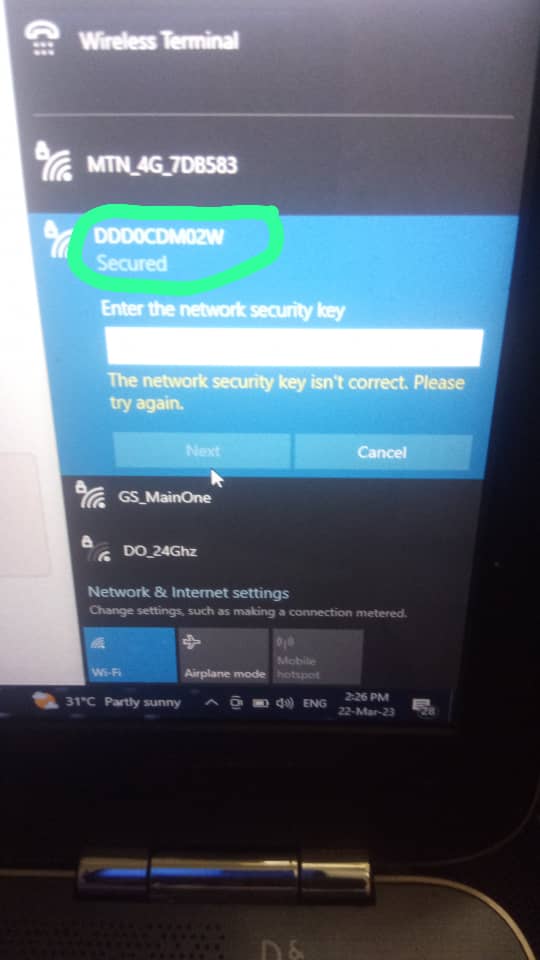
1 ) Press KEY for 1 second and make led ligth of Shinewifi-S blue on that is AP mode, which is used for debugging.
Remove the rubber plug of the KEY button, and short press the button inside. The blue LED will light up. Use your phone or computer to connect to the wireless network emitted by the ShineWiFi-S module. The network name/SSID is the serial number of the ShineWiFi-S module
If when connecting, it requires secure key, you can type 12345678
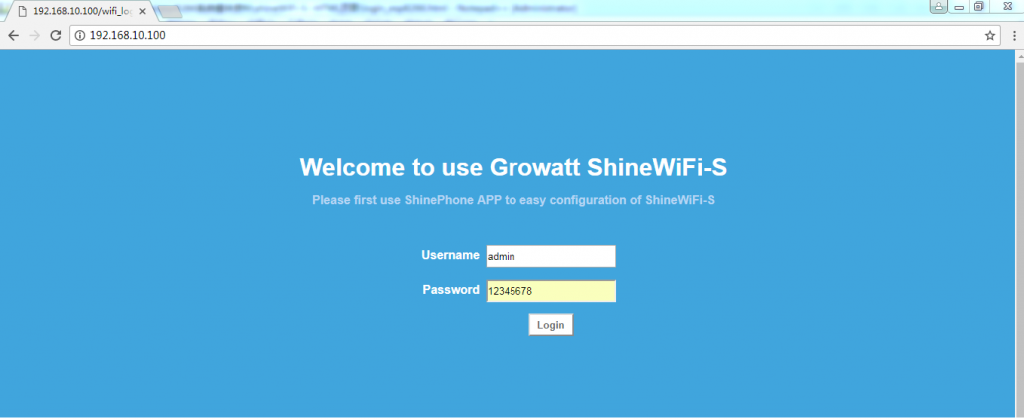
2 ) Log in internal webpage of Shinewifi-S
After the connection is successfully established, open the web browser on your phone or computer and type 192.168.10.100 in the address bar. The username is admin, the default password is 12345678
3 ) Wireless Router Settings
a. Default is the Auto” mode, select your home router network from the wifi list. Enter the password and click “Apply” to save the settings
b. If you select the “Manual” mode, then please enter the wifi name/SSID and password manually, click “Apply” to save the settings.
Solution 2: Delet datalogger info. you had configured on the monitoring system
1 ) Acess monitoring account via https://server.growatt.com/index

2) Select Datalogger
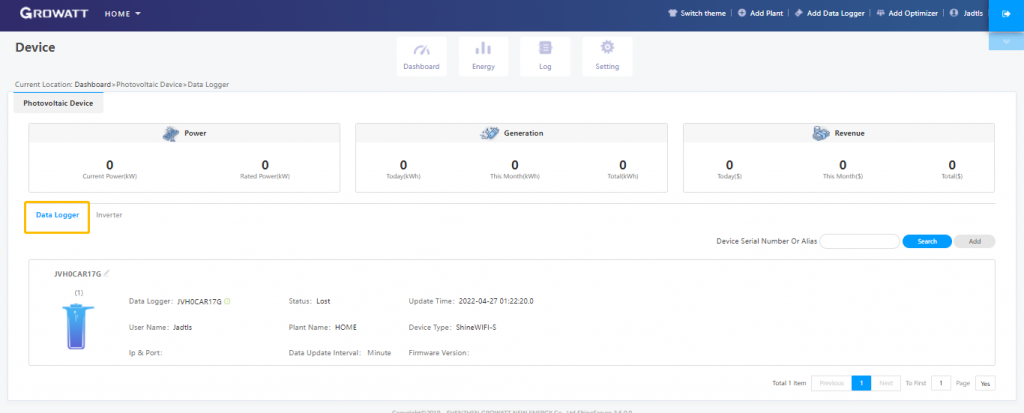
3) Delete Datalogger that state is lost.
4) you can configure datalogger again.
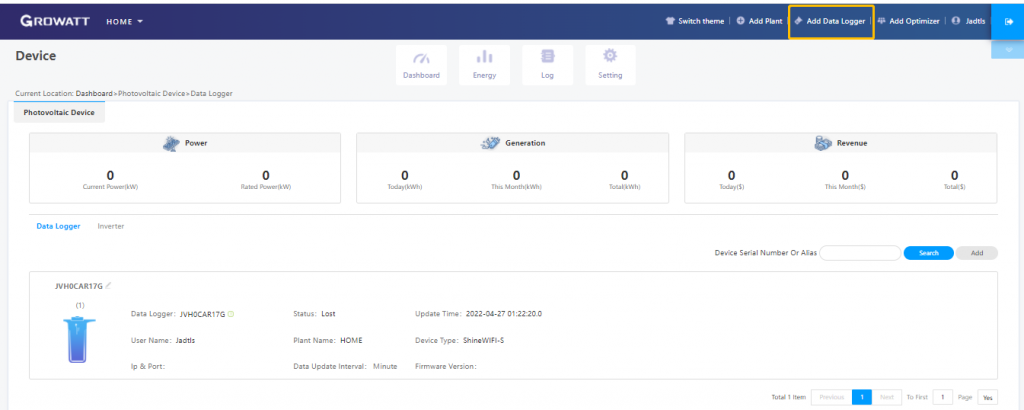
Method 2: Shineserver
a. Access server.growatt.com

b. Add datalogger
Youtube Video( Thanks for Sun Jieye’s efforts)
Troubleshooting
1. Datalogger is Blinking green, but it is not online.
Blinking green means that datalogger has connected to home router, but it is not connected to server. There are 2 possibilities. including router is not online or datalogger domain name resolving issue.
Solution:
1.Access internal webpage of datalogger via AP mode.
2.Select Red rectangle and use IP address to resolve
IP: 47.91.67.66 Port: 5279
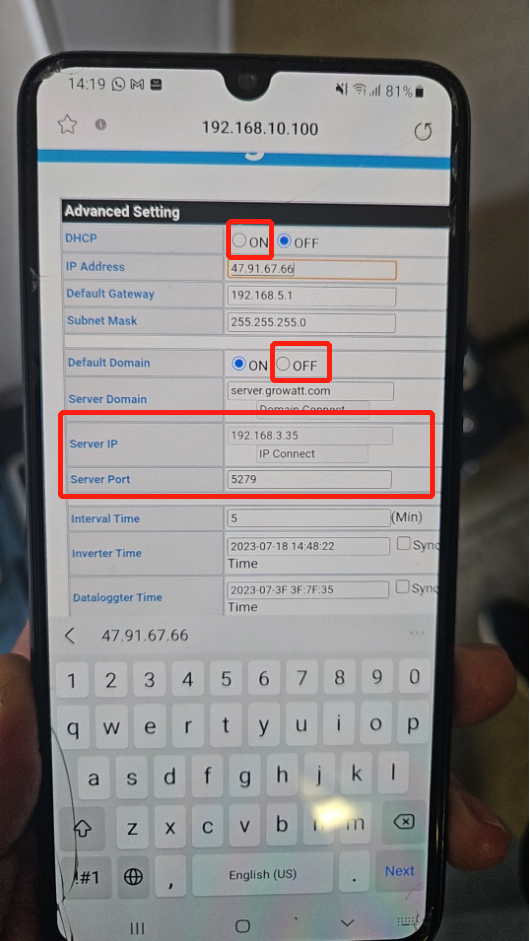
3.Save and exit out