How to upgrade MAX series inverter
Firmware version meaning:
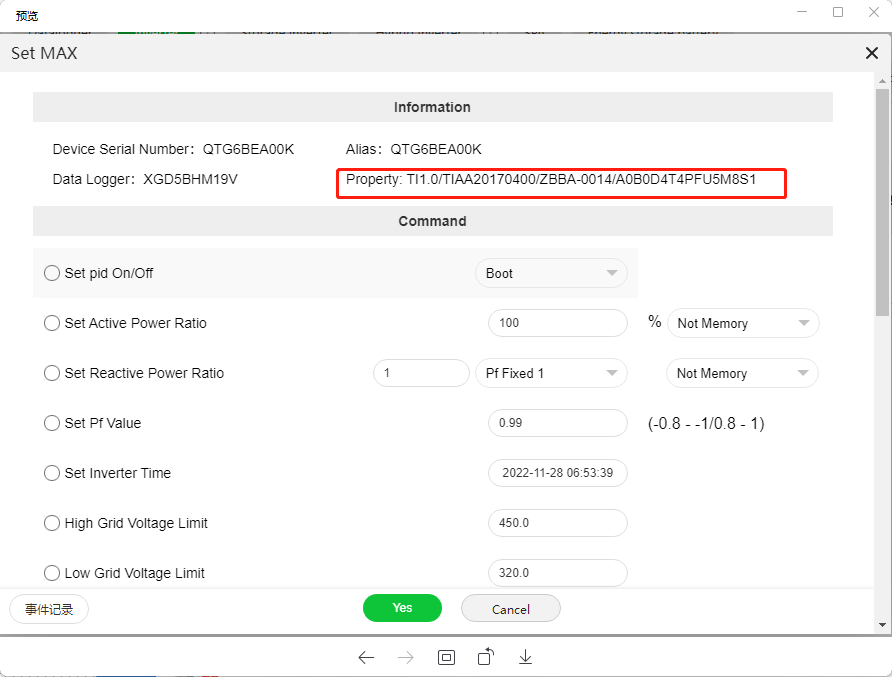
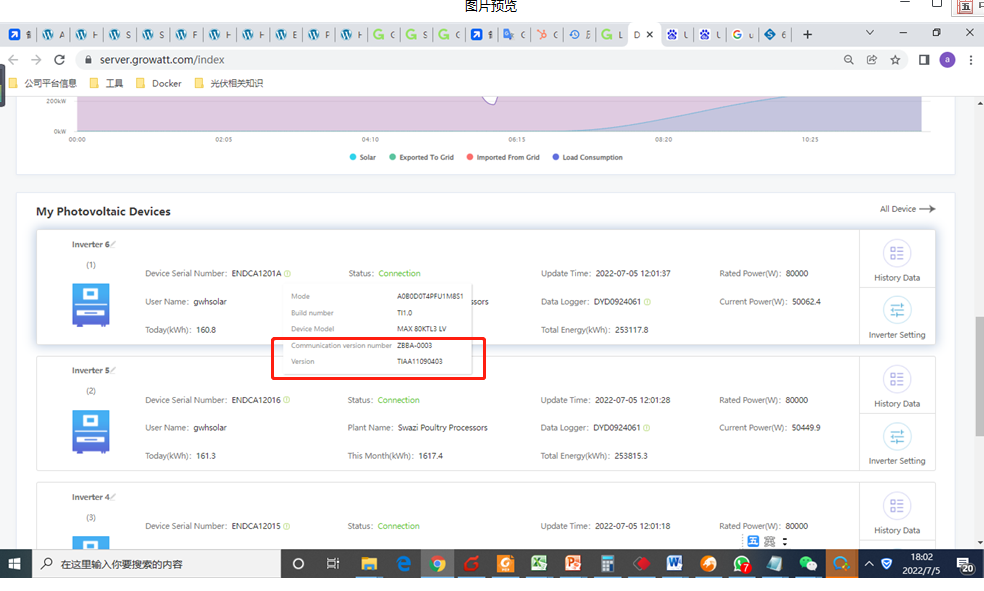
Newest firmware version : TIAA20170400/ZBBA-0014
TIAA20170400 , the last 2 bit represents AFCI version, if there is no AFCI function, it will display 00;
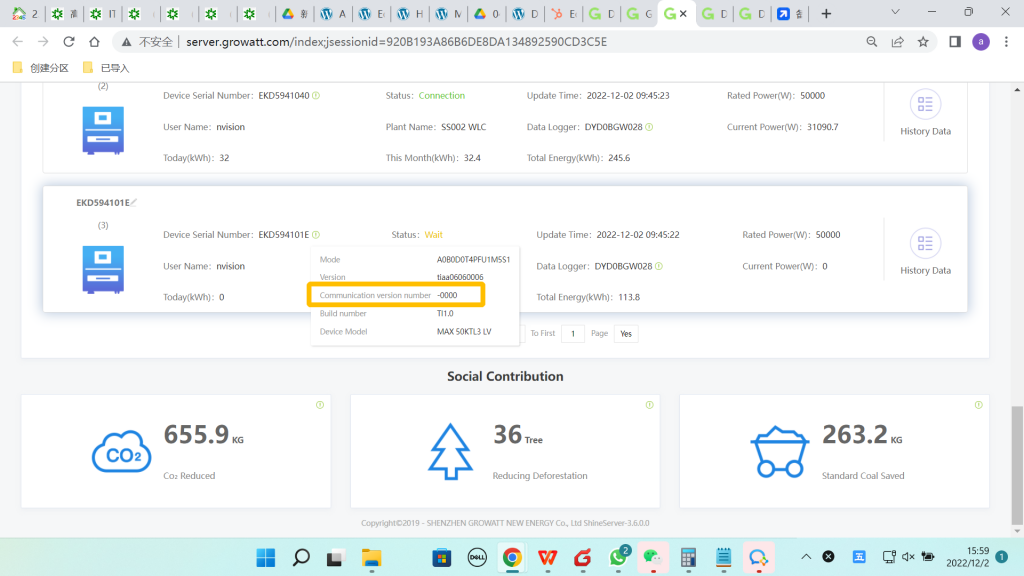
ZBBA-0014 is M3 board firmware version, When you are ready to upgrade, please make sure that M3 board is normal, or upgrading can’t be completed. at least , M3 board firmware shouldn’t be 0000 like below
Upgrade MAX inverter via USB Disk
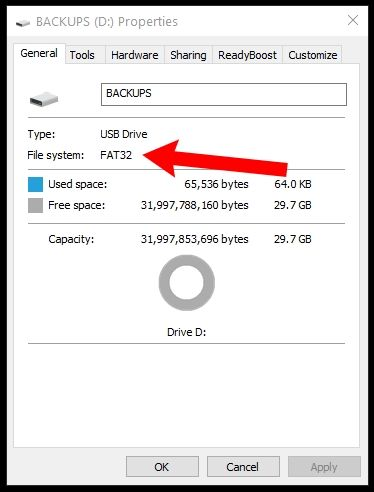
1. Prepare USB DISK

2. Format USB disk as FAT32
3. prepare upgrade firmware
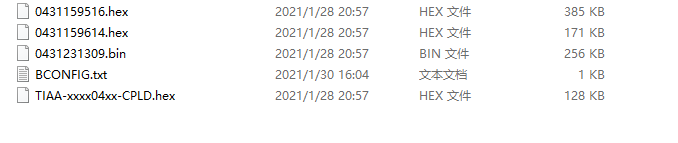
For Max Series, there are 4 upgrading firmwares in total, including 28075 Chip, 28067 Chip, CPLD Chip on control board; STM32 chip on M3 Chip like below:

28075 Chip, 28067 Chip Firmware


STM32 Chip firmware on M3 board
4. Make BCONFIG file
You need to note that file name is fixed, you can’t modify it , or inverter can’t detect it.
BCONFIG.txt
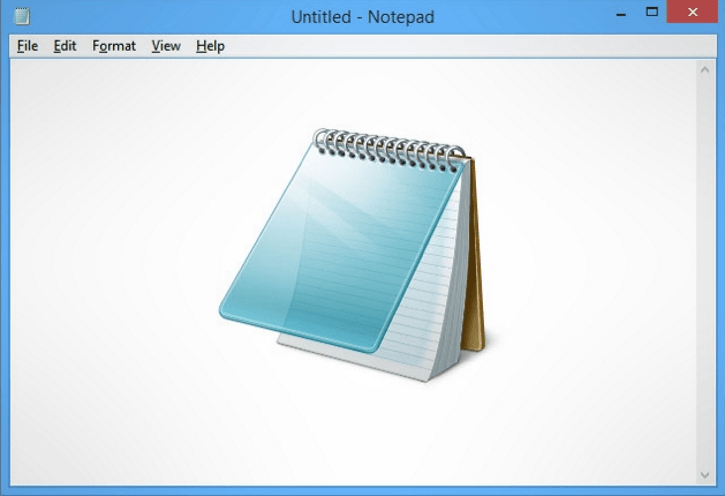
a. open Notepad
You can visit https://www.isunshare.com/windows-10/6-ways-to-open-notepad-in-windows-10.html about “how to open notepad”
b. type info. below:
Example:
update
1.0431159516.hex
2.0431159614.hex
3.TIAA-xxxx04xx-CPLD.hex
4.0431231309.bin
update: Fixed type
1.0431159516.hex
2.0431159614.hex
3.TIAA-xxxx04xx-CPLD.hex
the previous 3 firmware must be hex file, the sequence can be casual.
4.0431231309.bin
Bin file must be placed finally
c. Save BCONFIG.txt
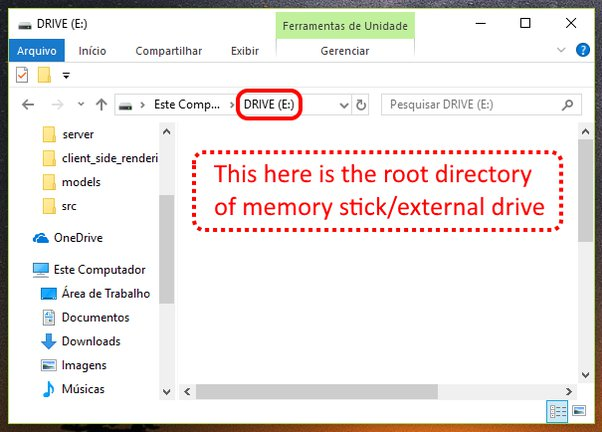
5. Put all firmwares and bCONFIG into root directoy of uSB dISK
Make sure that all firmwares and BCONFIG.txt are in root directory of USB DISK
6. Make inverter stop running
When you are ready to upgrade inverter, make inverter stop running, stay on NON INV state which means inverter is on , but not producing AC output power. You can turn off AC or DC switch.
7. Plug USB disk into MAX inverter

8. Observe led light on inverter
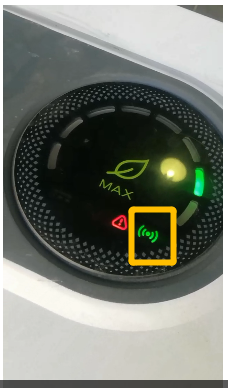
Normal state : The led light in yellow rectangle should be blinking.
9. Wait for several minutes, upgrading can be completed automatically
10. Check firmware on server.growatt.com
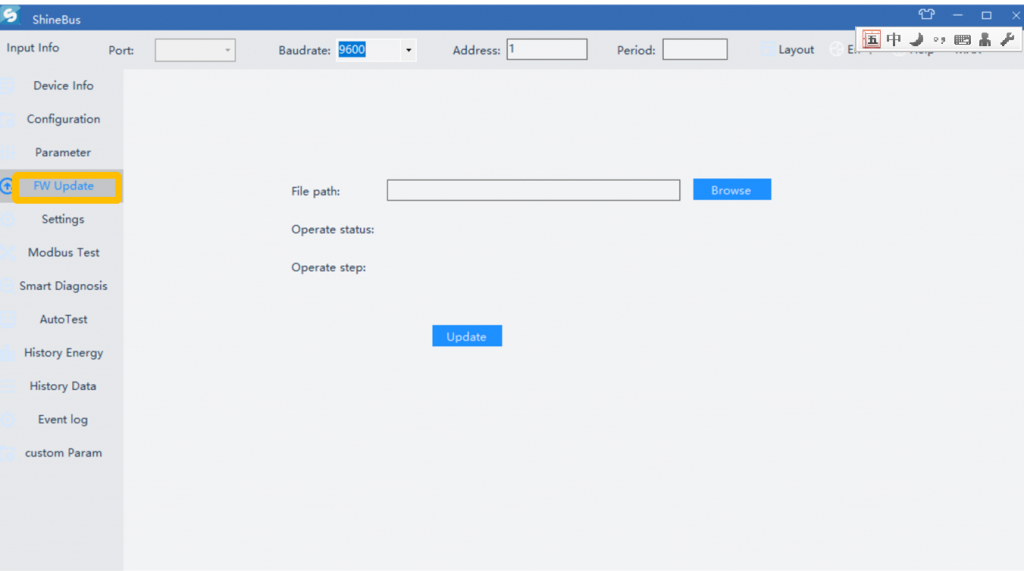
Upgrade MAX inverter via Shinebus
Tool
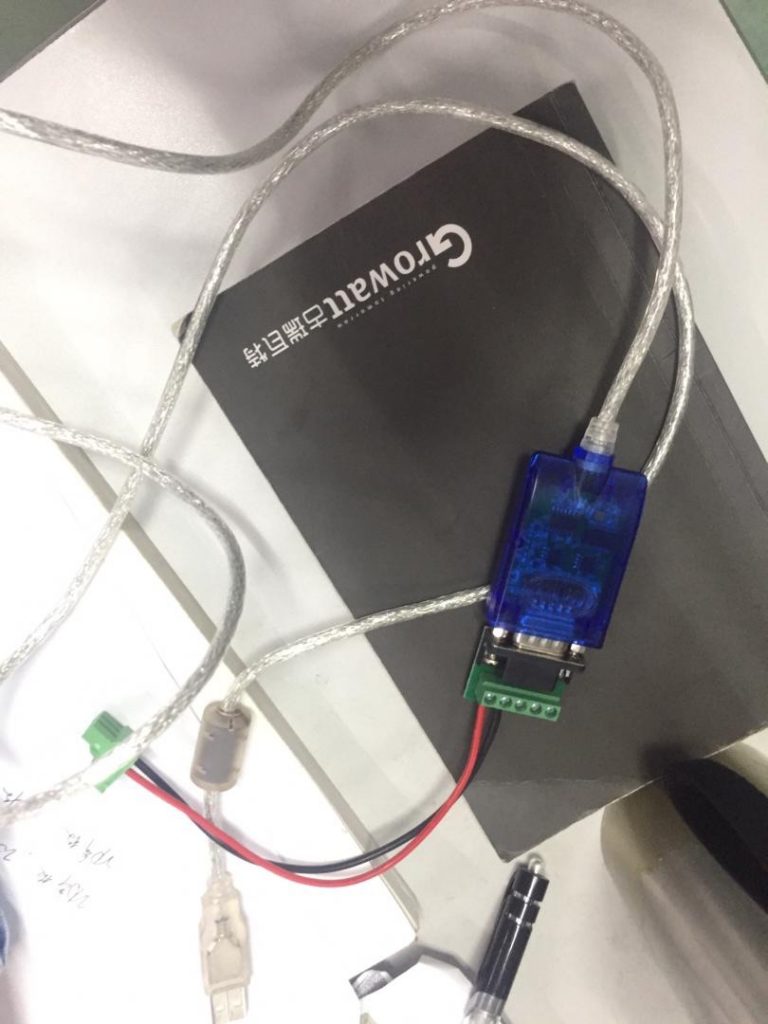
1. USB-485 OR USB-232-485 TOOL
2. shinebus Download
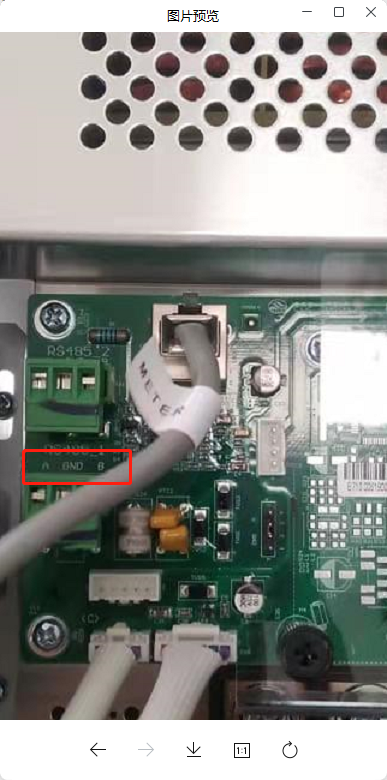
3. Connect USB-485 Tool into 485 port on MAX inverter
4. Open Shinebus
You can find com port via https://www.lifewire.com/how-to-open-device-manager-2626075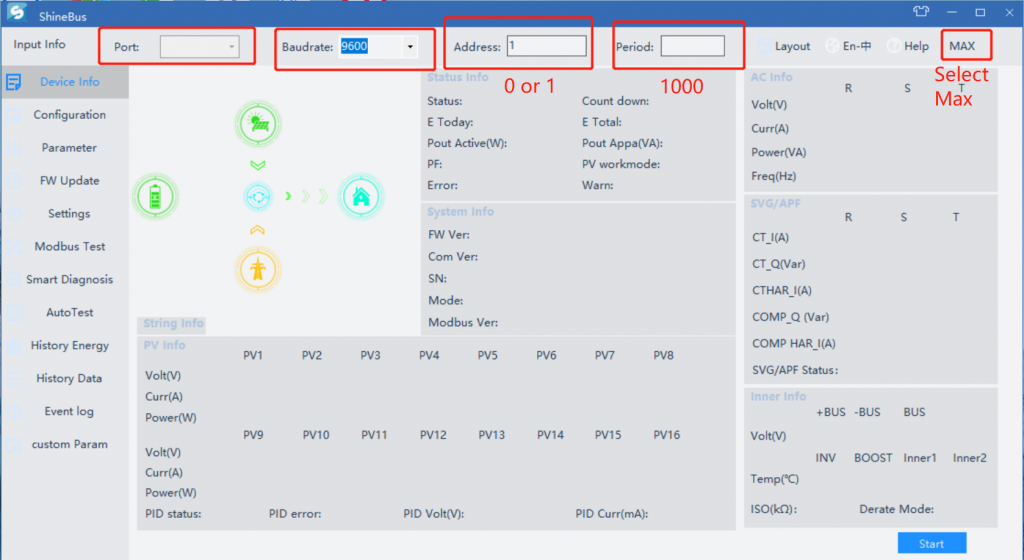
5. Select “FW Update”
6. Upgrading sequence
1.0431159516.hex
2.0431159614.hex
3.TIAA-xxxx04xx-CPLD.hex
4.0431231309.bin

Bin should be upgraded finally. the previous 3 firmware must be hex file, the sequence can be casual.
Upgrade MAX inverter via OSS remotely
Bin of M3 board should be upgraded firstly
Procedures
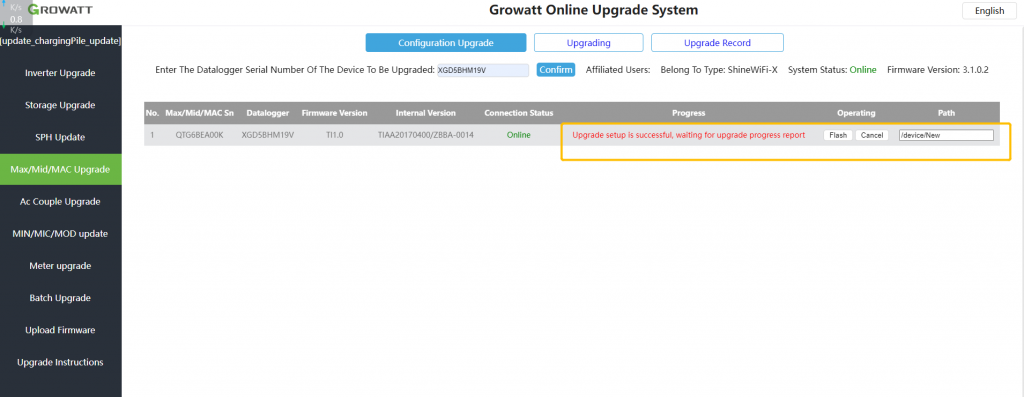
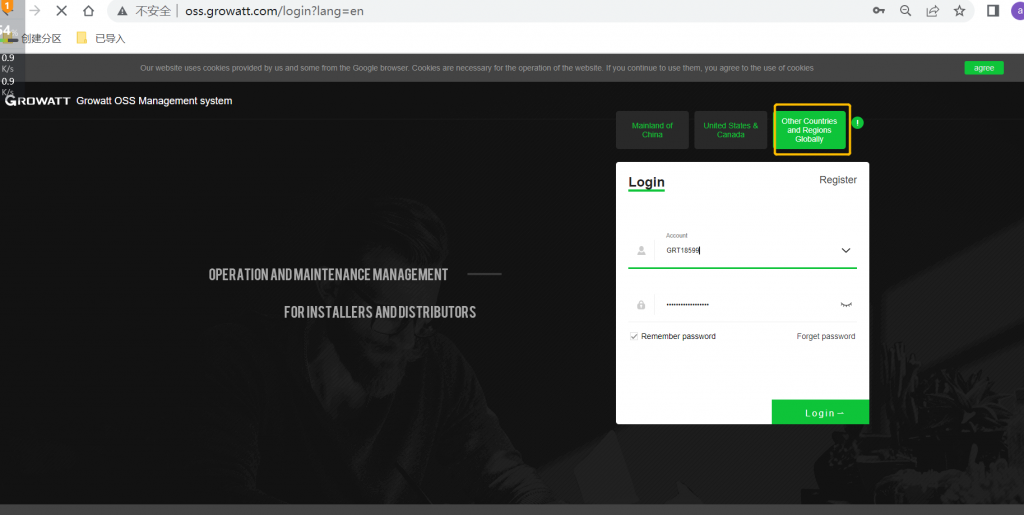
A. Access oss.growatt.com
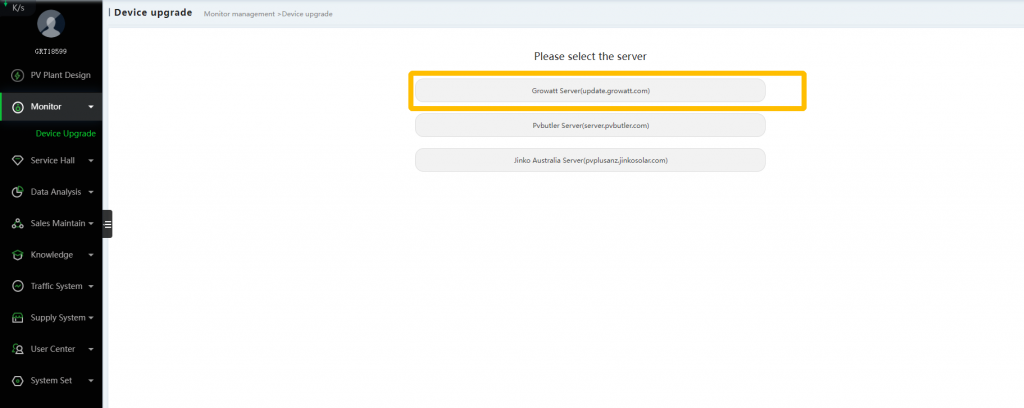
B. enter “Device Upgrade”
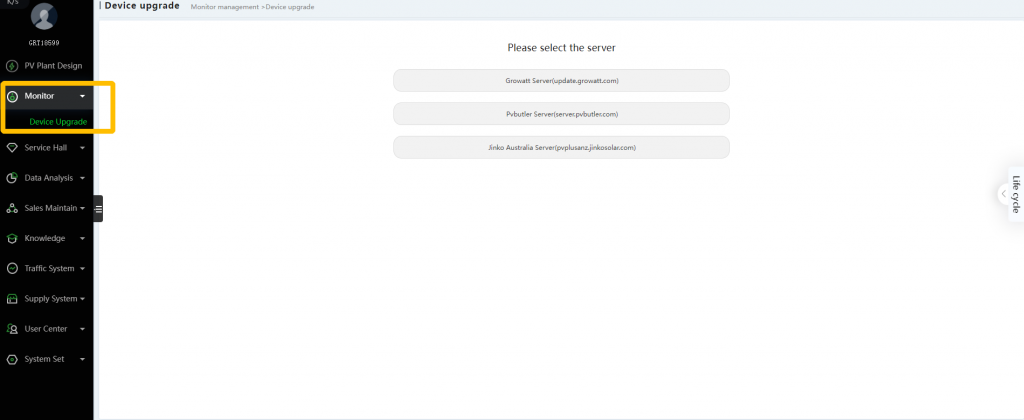
c. Select “Growatt Server”
D. Select “Manual Upload”
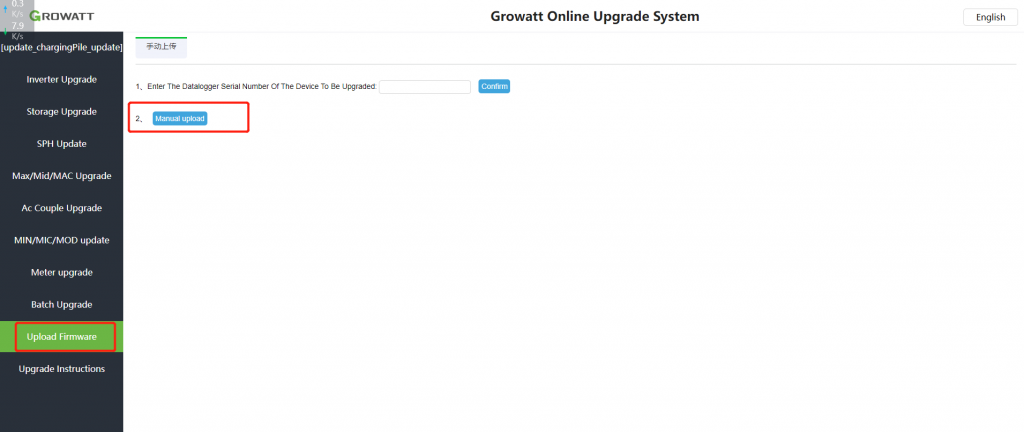
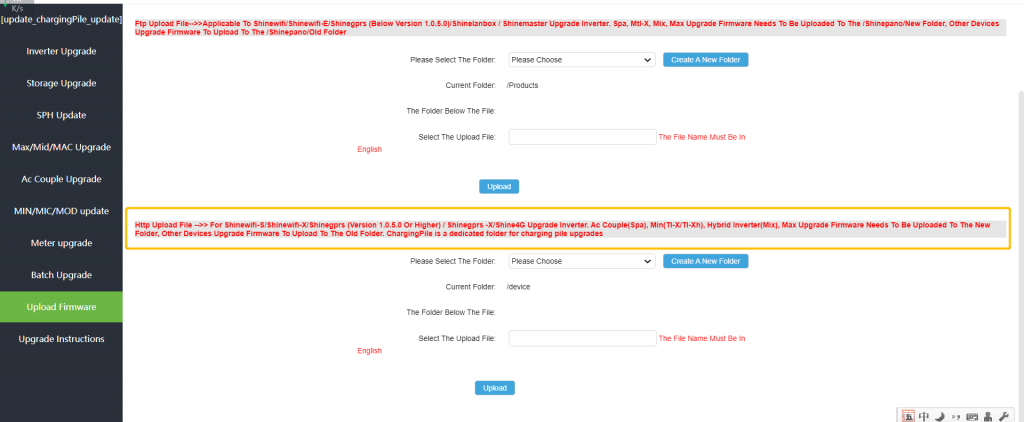
E. Upload Firmware
g. Select Inverter model
h. Type Datalogger
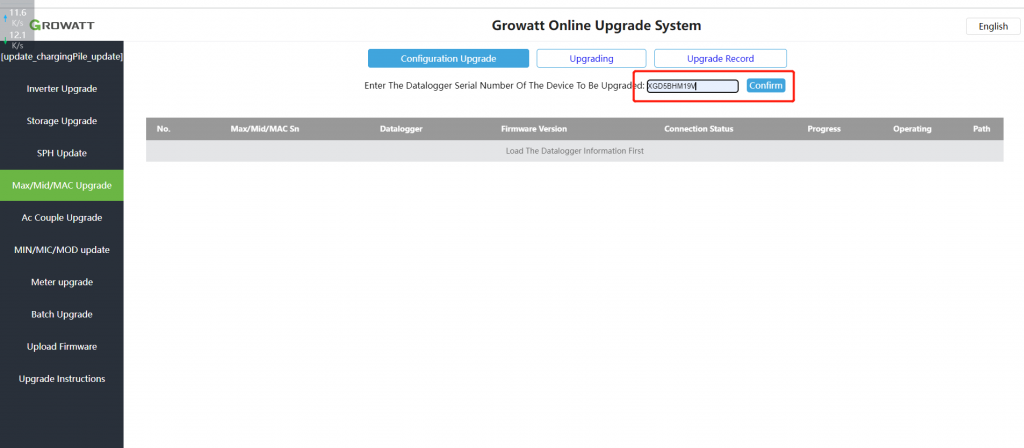
j. Select upgrading firmware you uploaded.
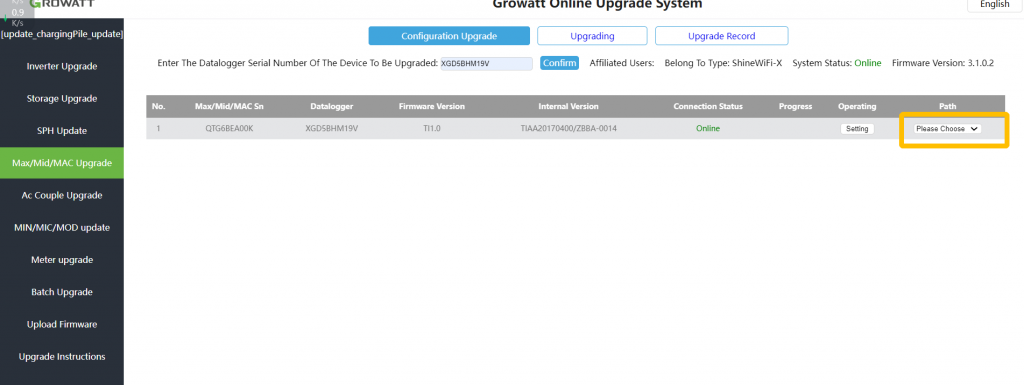
k. Click “flash” to upgrade inverter