How to disassemble mID 36-40KTL3-X series inverter
Procedures:
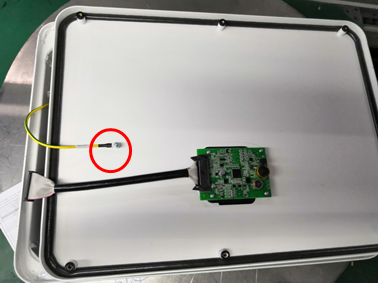
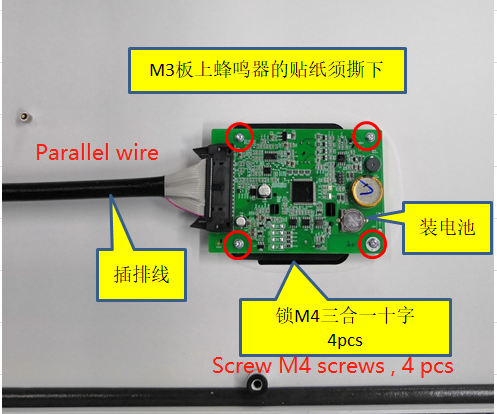
1. M3 board installation
a. Screw 4 pcs M4 screws and Parallel wire
![](https://www.amosplanet.org/wp-content/uploads/2022/08/企业微信截图_1659410864201.png)
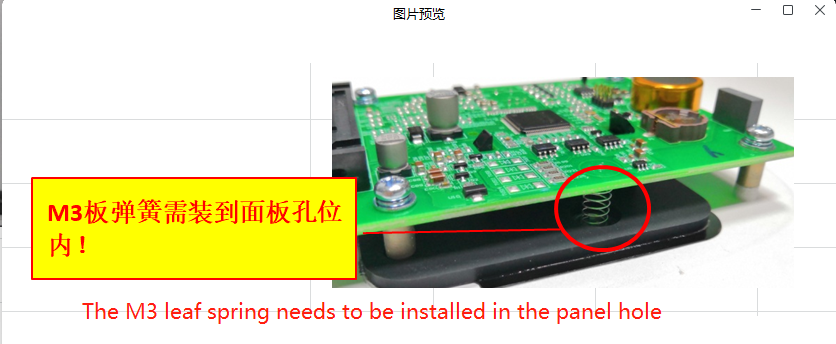
B. The M3 leaf spring needs to be installed in the panel hole
![](https://www.amosplanet.org/wp-content/uploads/2022/08/企业微信截图_16594110728578.png)
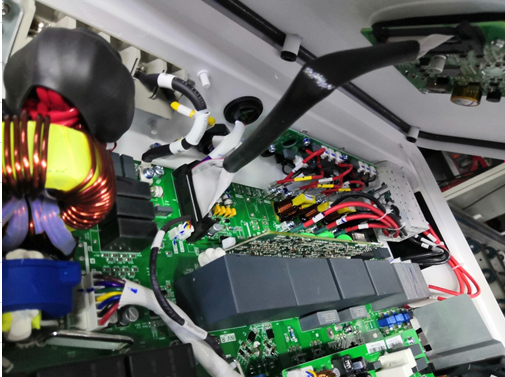
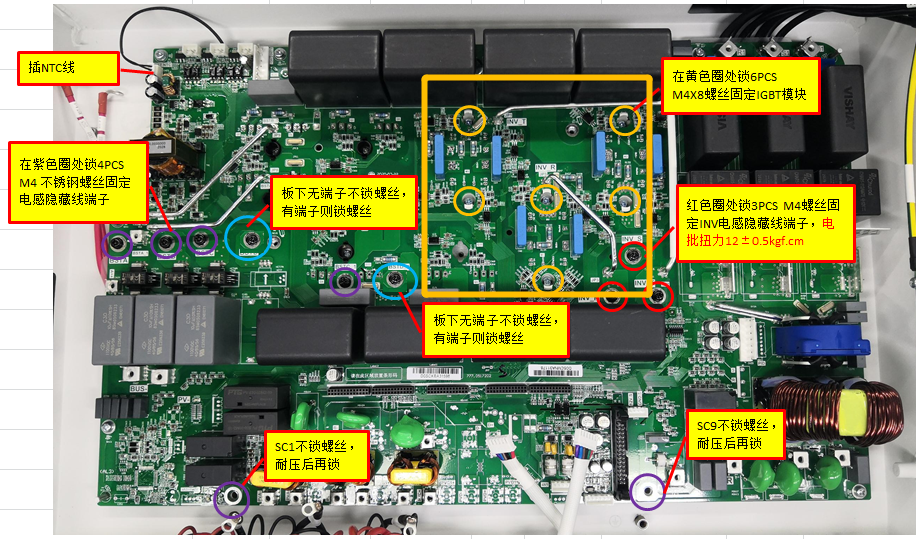
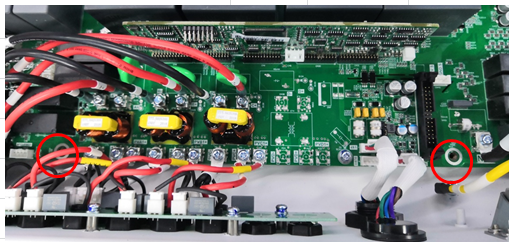
2. Main board installation
Check whether there are some objects on the insulating sheet and radiator, install the main board on the main frame, and lock the transistor pressure plate and main board.
![](https://www.amosplanet.org/wp-content/uploads/2022/08/企业微信截图_16594383371170.png)
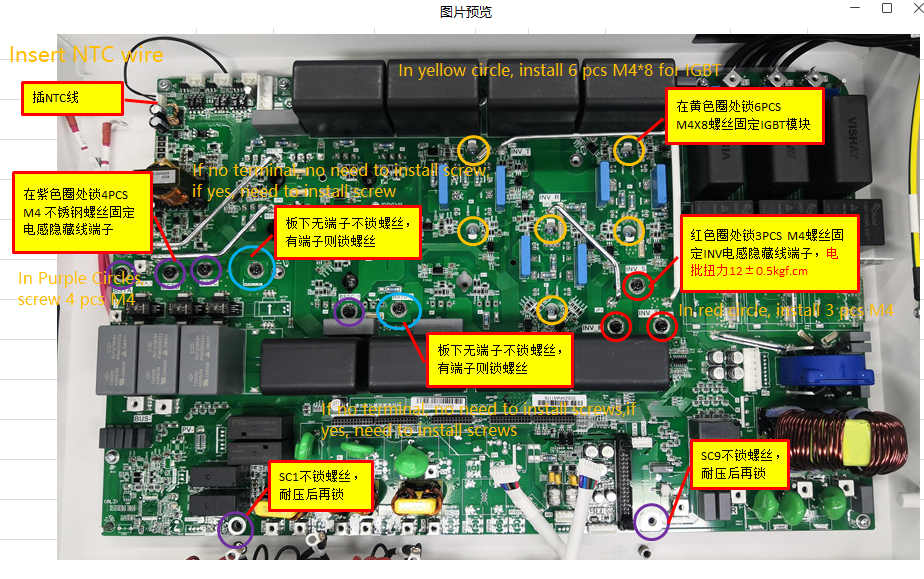
Please note that make sure screws for IGBT are installed firstly.
![](https://www.amosplanet.org/wp-content/uploads/2022/08/企业微信截图_16594384967542.png)
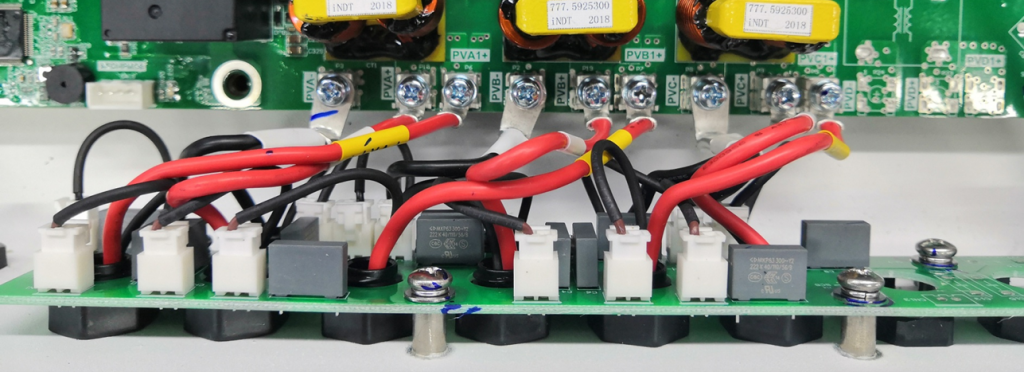
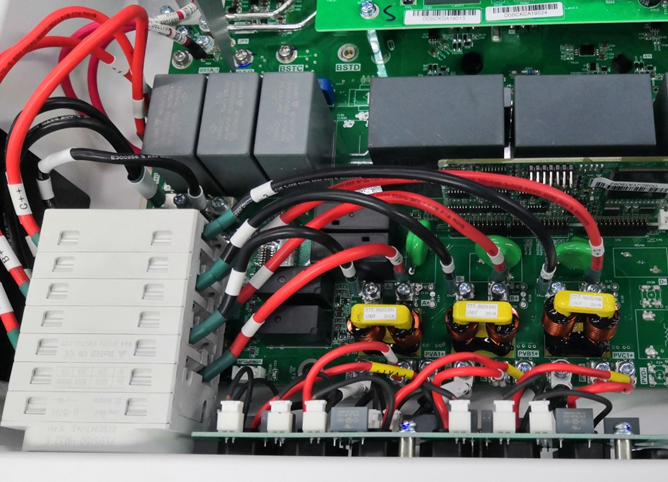
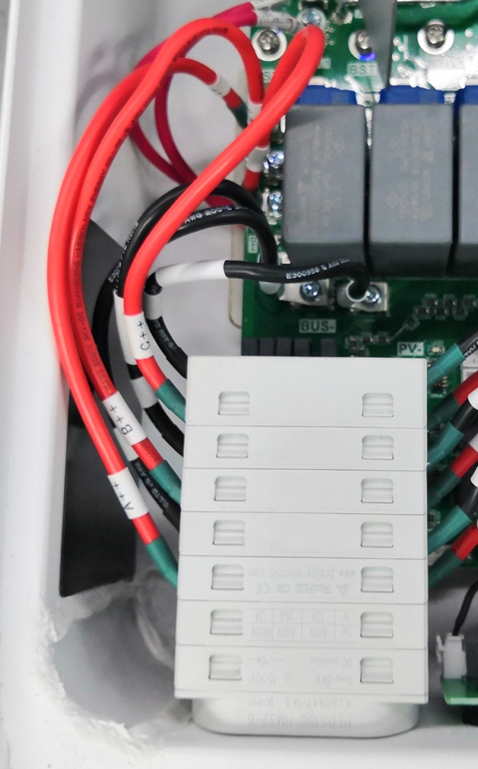
3. Install PV connection wire
![](https://www.amosplanet.org/wp-content/uploads/2022/08/image-1-1024x372.png)
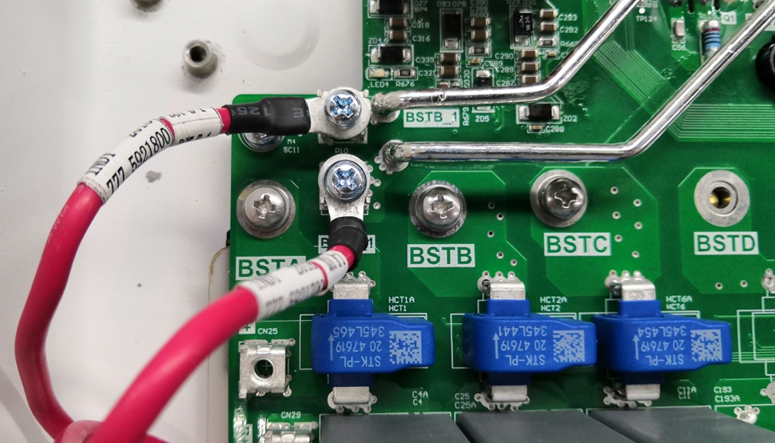
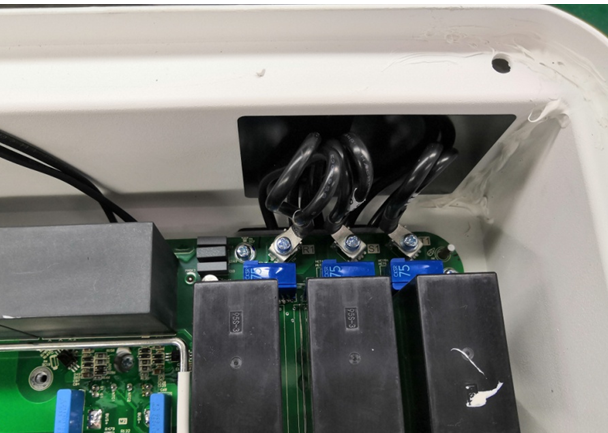
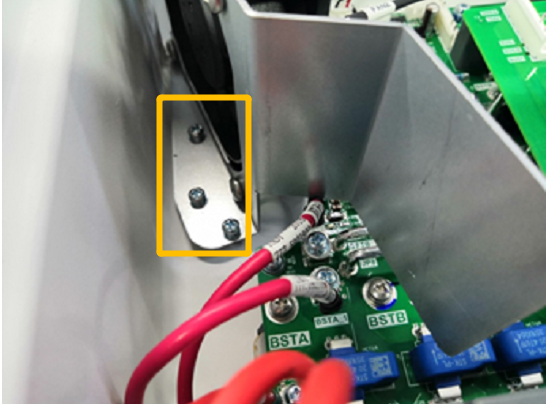
4. Install BST connection wire
![](https://www.amosplanet.org/wp-content/uploads/2022/08/image-2.png)
5. Install INV connection wire
![](https://www.amosplanet.org/wp-content/uploads/2022/08/image-3.png)
6. Install connection wire from right side of switch
![](https://www.amosplanet.org/wp-content/uploads/2022/08/image-4.png)
![](https://www.amosplanet.org/wp-content/uploads/2022/08/image-5.png)
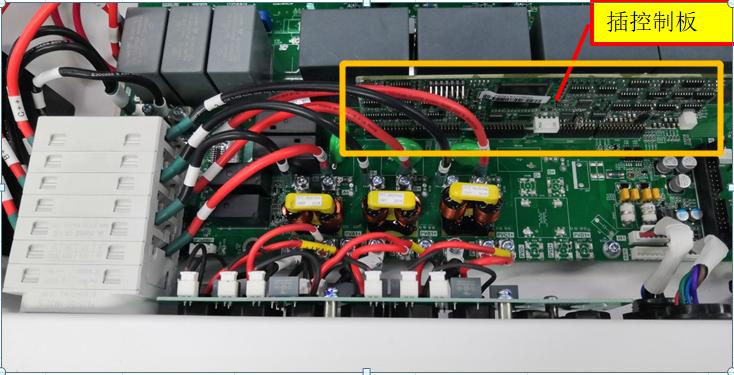
7. Install Control board
![](https://www.amosplanet.org/wp-content/uploads/2022/08/企业微信截图_16594394563671.png)
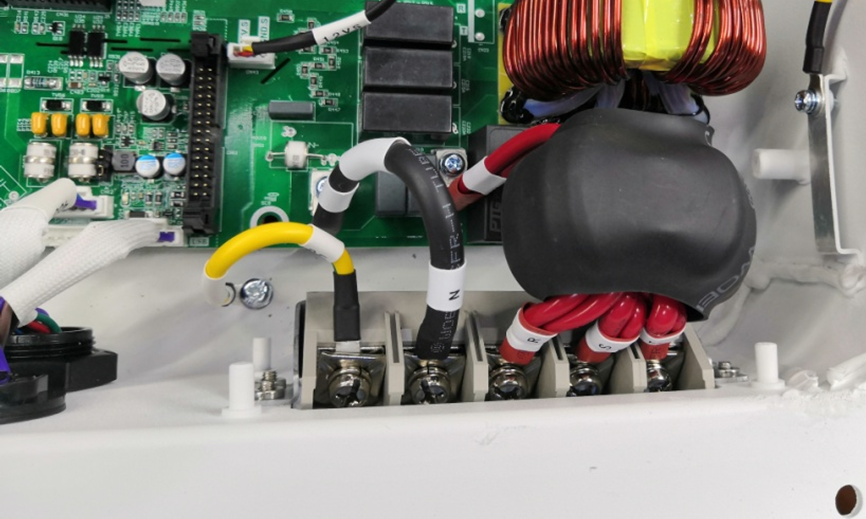
8. Install AC Connection wire
![](https://www.amosplanet.org/wp-content/uploads/2022/08/image-7.png)
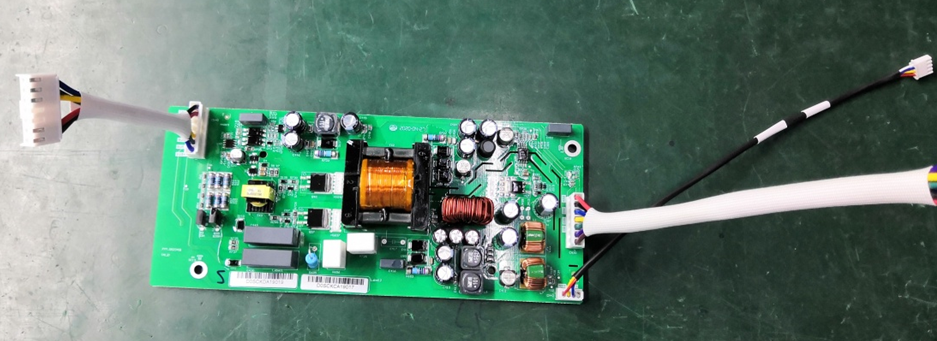
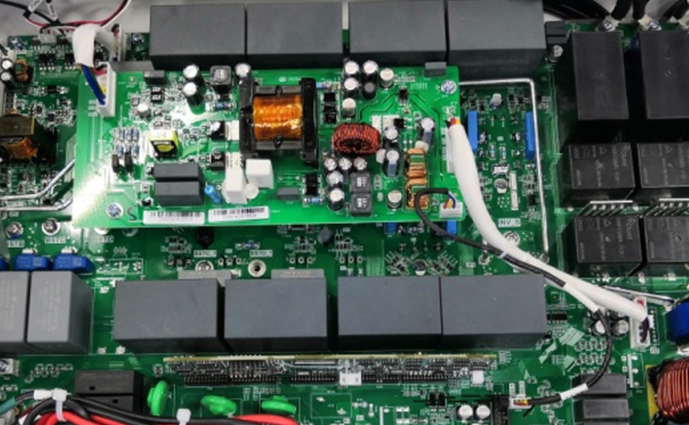
9. Install SPS board
![](https://www.amosplanet.org/wp-content/uploads/2022/08/image-8.png)
a.Install 2 plastic props and 2 iron props
![](https://www.amosplanet.org/wp-content/uploads/2022/08/企业微信截图_16594429859691-1.png)
![](https://www.amosplanet.org/wp-content/uploads/2022/08/企业微信截图_1659443070421.png)
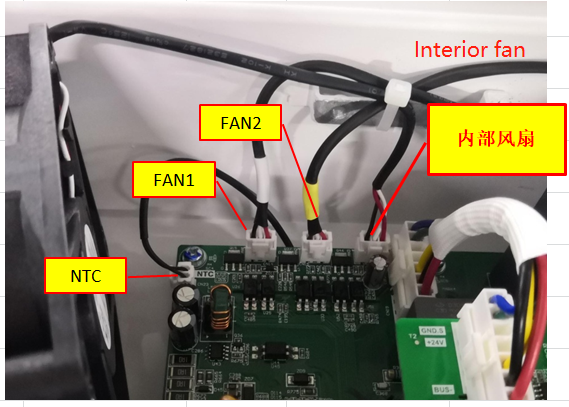
b.Plug connection wire from SPS board to mainboard
![](https://www.amosplanet.org/wp-content/uploads/2022/08/image-9.png)
c.Lock interior fans with 3 pcs screws
![](https://www.amosplanet.org/wp-content/uploads/2022/08/企业微信截图_16594433227458.png)
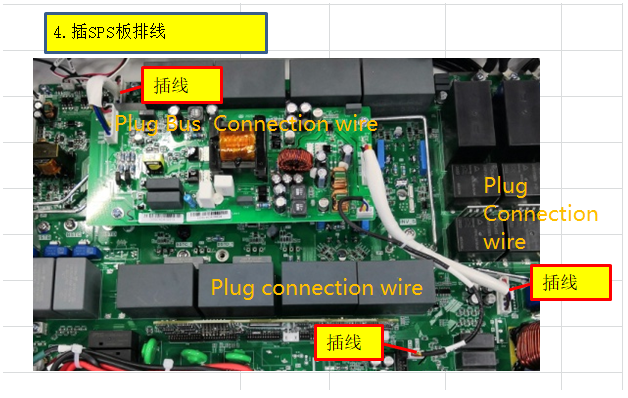
d.Plug SPS connection wire
![](https://www.amosplanet.org/wp-content/uploads/2022/08/企业微信截图_16594439931658.png)
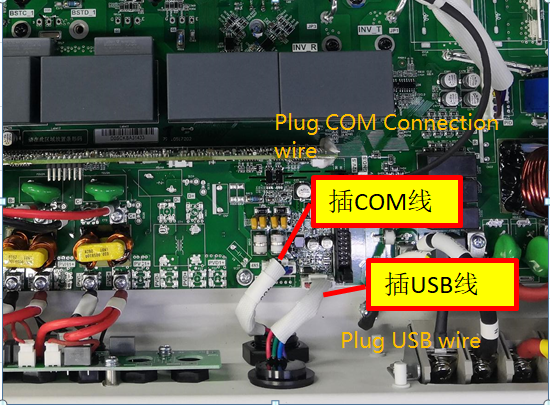
e.Plug Com connection and USB wire
![](https://www.amosplanet.org/wp-content/uploads/2022/08/企业微信截图_16594441578383.png)
f.Install external fans
![](https://www.amosplanet.org/wp-content/uploads/2022/08/企业微信截图_16594445628564.png)
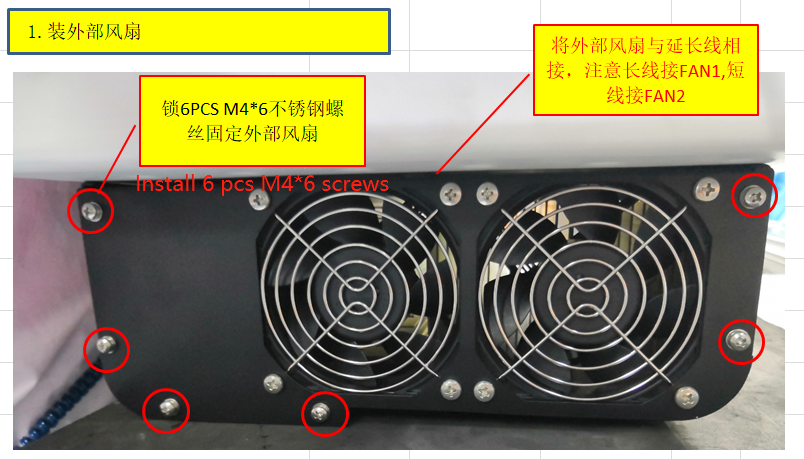
g.Install external fans
![](https://www.amosplanet.org/wp-content/uploads/2022/08/企业微信截图_1659444636191.png)
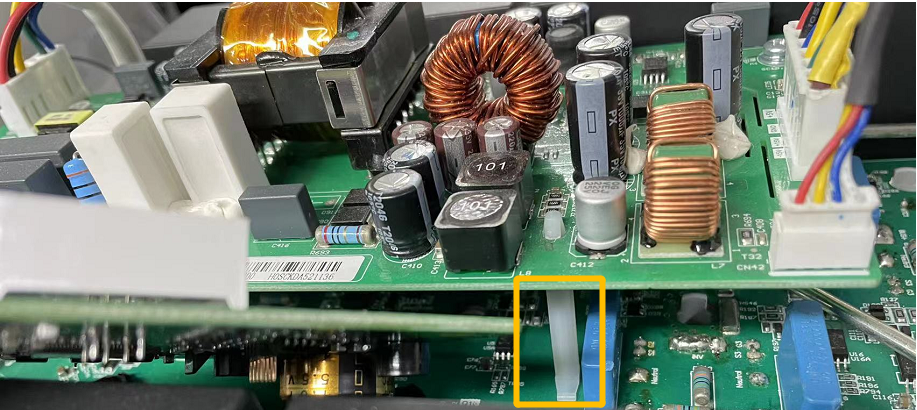
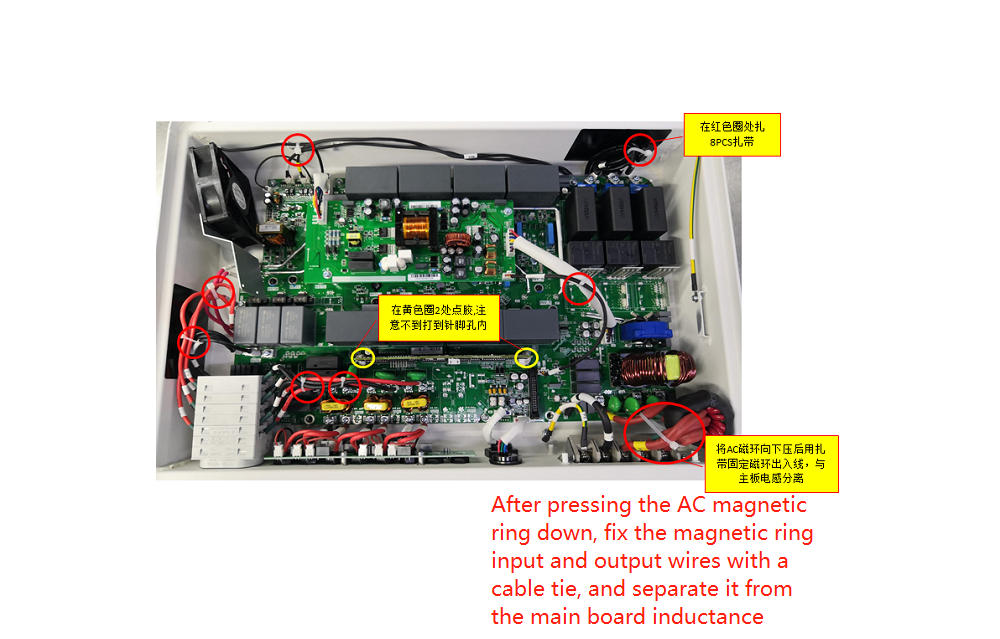
h.After pressing the AC magnetic ring down, fix the magnetic ring input and output wires with a cable tie, and separate it from the main board inductance
![](https://www.amosplanet.org/wp-content/uploads/2022/08/企业微信截图_16594459104363.png)
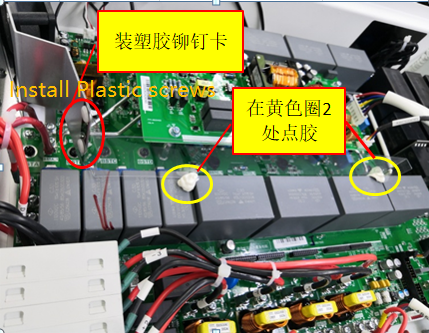
i.Install wind paper
![](https://www.amosplanet.org/wp-content/uploads/2022/08/企业微信截图_16594460777859.png)
10. Lock upper cover
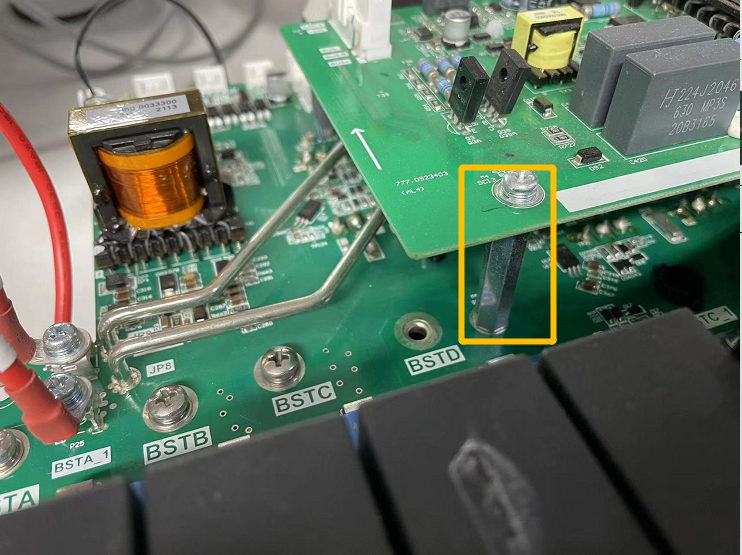
a.Install Screw SC1 And sC9 that are connected to earth
![](https://www.amosplanet.org/wp-content/uploads/2022/08/企业微信截图_16594467974346.png)
b.Install earth wire on upper cover
![](https://www.amosplanet.org/wp-content/uploads/2022/08/企业微信截图_16594468893707.png)
![](https://www.amosplanet.org/wp-content/uploads/2022/08/企业微信截图_16594469372505.png)